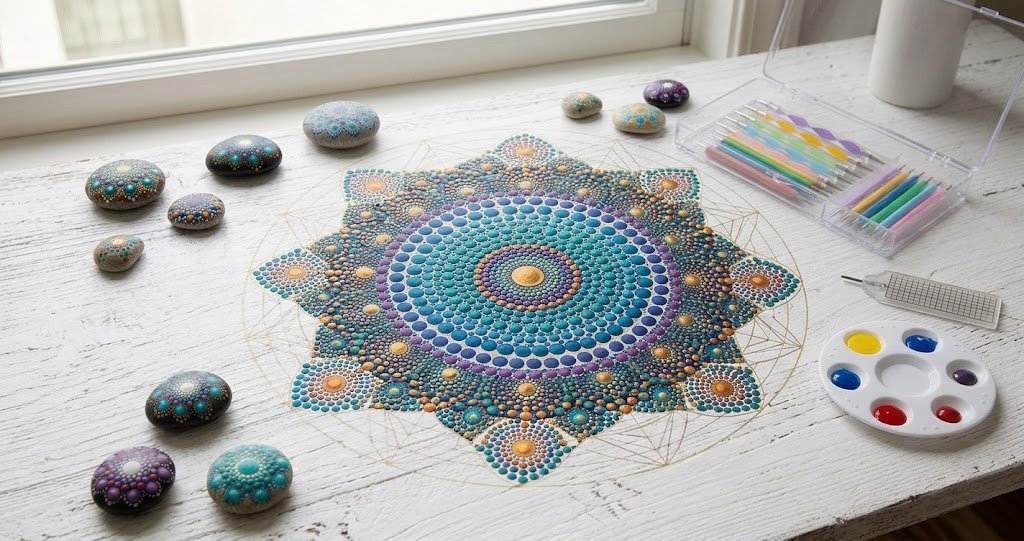


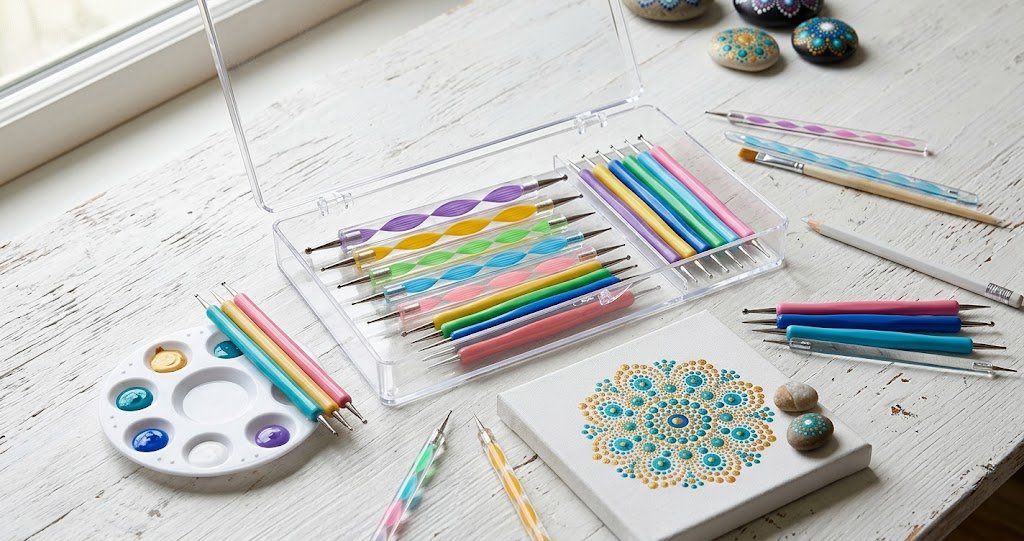
One of the greatest advantages of dot art is its minimal equipment requirement, making it exceptionally accessible to beginners. A basic toolkit centered around purpose-made ball-tipped stylus tools—often sold in graduated sizes—provides the standard choice for precise and consistent application. However, specialty equipment isn’t strictly necessary; household items like cotton swabs, the rounded end of a paintbrush, pencil erasers, or toothpicks serve as effective substitutes. For smaller-scale or paper-based work, fine-liner pens and markers offer uniform dot sizes with minimal effort. When working on three-dimensional or textured surfaces like rocks, wood slices, canvas, or paper, acrylic paint is the preferred medium due to its quick drying time, vibrant color, and ability to hold a raised, rounded shape.
Mastering the mechanics of dot art depends on proper tool handling, pressure control, and establishing a natural cadence. The process begins by dipping the tool into the paint, picking up just enough medium to yield three to five dots before reloading. To form a clean, rounded dot rather than a smudge, the tool should be held perpendicular to the working surface and applied with gentle, vertical pressure. Maintaining uniform pressure naturally produces uniform dot sizes, which is key for symmetrical designs. Over time, establishing a steady rhythm of applying and reloading the tool builds the meditative cadence that underpins the entire practice.
Beginners can develop this spatial control and muscle memory by working through four core foundational techniques:
- Straight Lines: Placing dots in linear series to build steady rhythm and spatial control.
- Graduated Dots: Systematically increasing or decreasing dot sizes along a line to create depth and shading effects.
- Circular Rings: Creating concentric circles of dots, which serve as the primary building blocks for traditional mandala art.
- Dot Blending: Positioning contrasting colored dots in close proximity to visually simulate seamless gradients.
Starting Simple and Reframing “Mistakes”
For those just beginning, starting with a single line of evenly spaced dots is far more effective than attempting an intricate pattern right away. The goal of this exercise isn’t the visual output, but rather the simple repetition itself, which serves as an initial introduction to focused attention. Even at this early stage, noticing how awareness narrows around a single, repeated motion sets the stage for formal mindfulness practice.
Equally important is reframing the concept of technical imperfection from the very beginning. In an approach grounded in non-judgmental awareness, an uneven dot, a slight smudge, or an inconsistent line isn’t a failure—it is simply neutral information. Observing these moments without frustration directly reinforces the core mindset of mindfulness, allowing the process of creation to remain grounding, forgiving, and therapeutic.
RELATED POSTS
View all